The Common Pairings and What Each One Needs
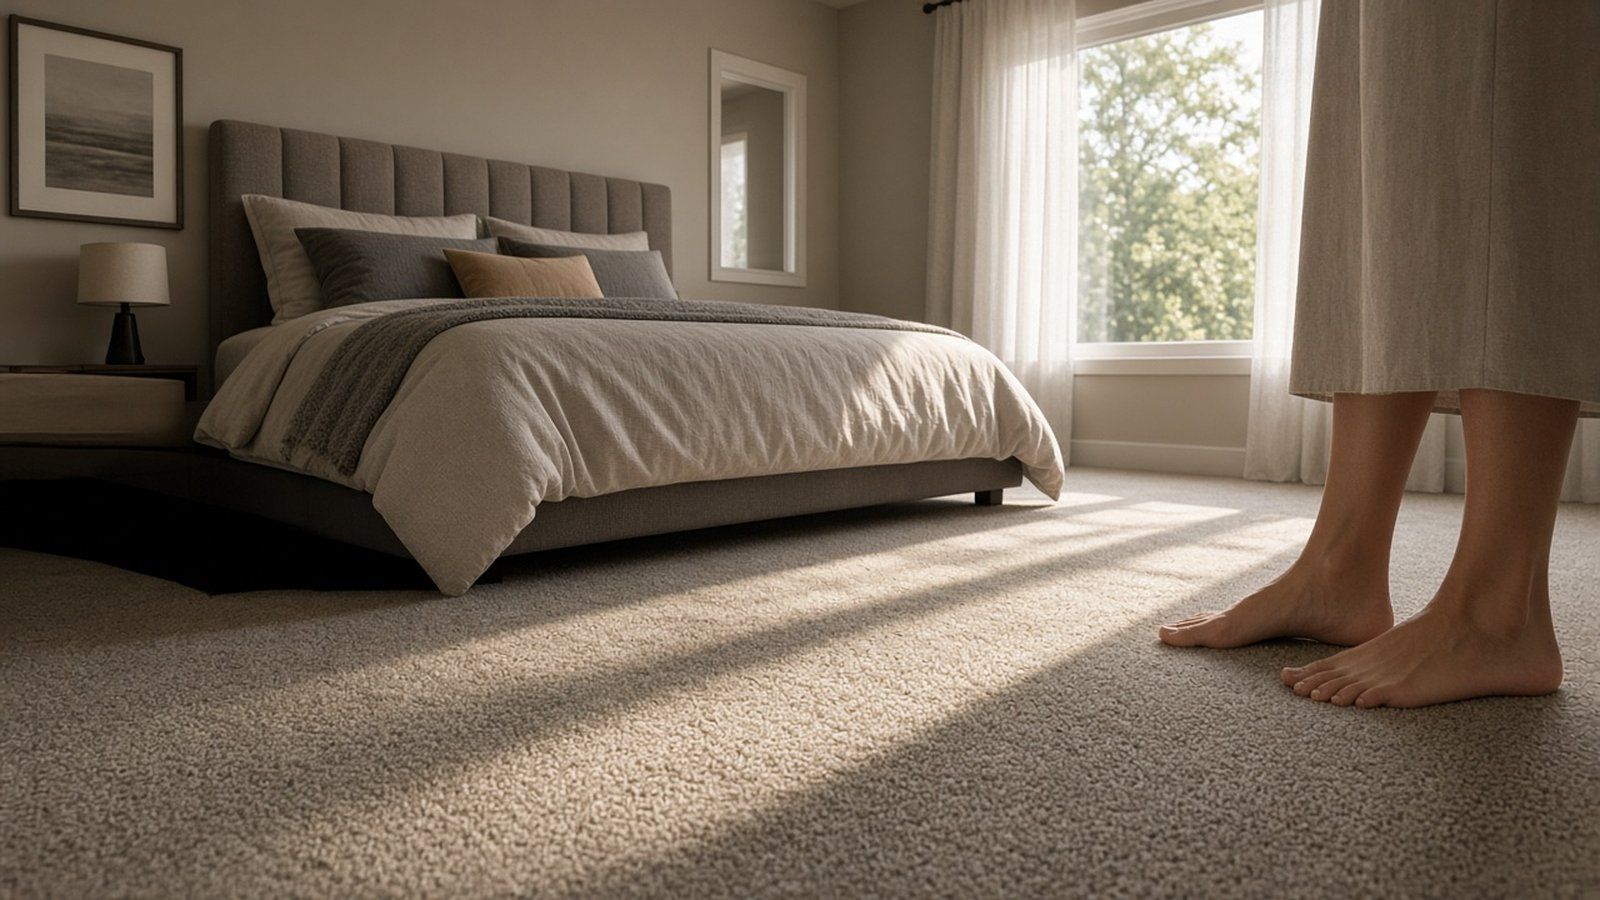
Carpet to tile transition. The bedroom-to-bathroom meeting is the classic case. Tile is usually the taller floor, so either the carpet side gets built up or the edge profile absorbs the difference. The carpet edge options above apply here.
Carpet to LVP or carpet to vinyl transition. This is a common layout when bedrooms keep carpet and the hallway goes hard surface. The math is simple: the height of the hard floor relative to carpet plus pad determines whether you need tack strip buildup, a transition bar, or a Z-bar detail.
LVP to tile transition. If the finished heights match, a T-molding. If the tile sits taller, a reducer. The specific product's installation guide governs the details.
LVP room to LVP room through a doorway. Even the same product running through a doorway may need a break there, because some manufacturers require a T-molding at doorways or after a set run length for floating floors. A coordinating T-molding centered in the doorway looks intentional rather than interrupted.
Height Differences and Safety: Plan Before You Order
The single most useful thing you can do before ordering flooring is verify the finished heights of both surfaces, including underlayment, pad, and any buildup, on the day of the walkthrough.
For a safety benchmark,
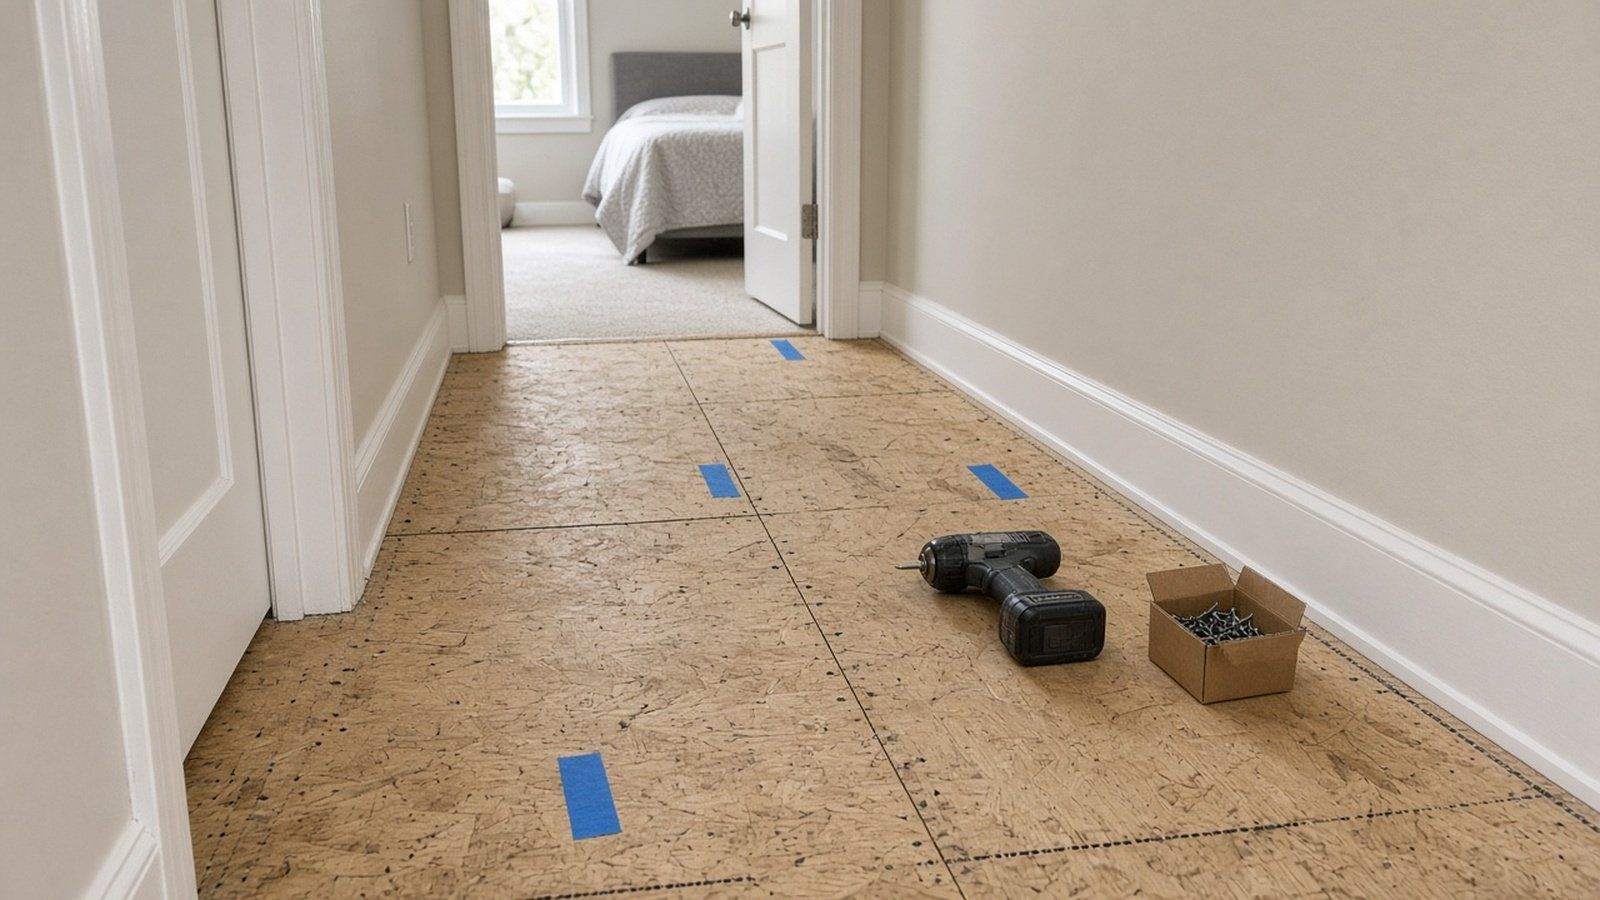
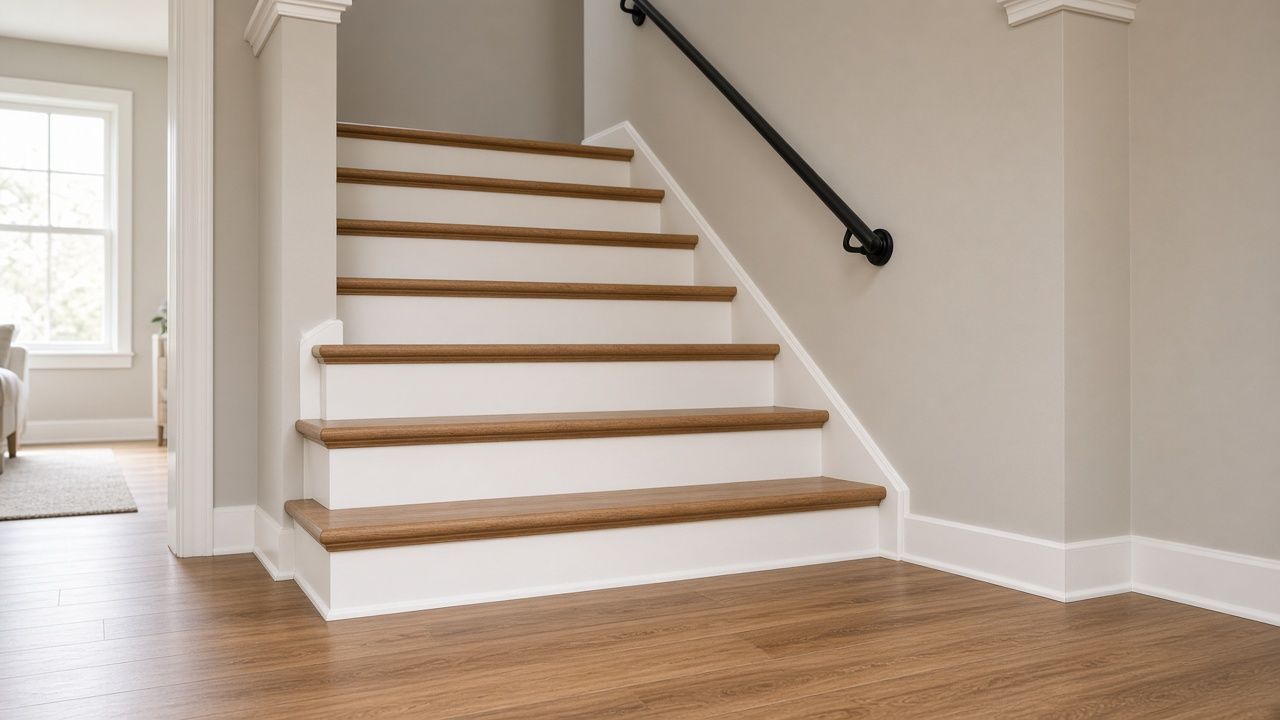
ADA accessibility standards written for public spaces allow a vertical change up to 1/4 inch, and changes between 1/4 and 1/2 inch must be beveled with a slope no steeper than 1:2. Those are public-space rules, not requirements for your home, but they are a sensible yardstick: anything your toes, a vacuum wheel, or a walker wheel catches on is a problem. Bigger differences than that call for a reducer, a ramped transition, or prep work. When the subfloor itself is what is causing an uneven floor transition,
subfloor repair is the real fix rather than a thicker strip on top. Subfloor leveling and preparation are part of our LVP and laminate work, so a height problem found at the estimate can be planned into the job rather than discovered mid-install.
Floating Floors, Doorways, and Expansion Rules
Floating LVP and laminate click floors are not glued or nailed down. They ride on the subfloor and need expansion space at the perimeter and around obstacles, and doorways are the classic pinch point when that rule gets ignored.
One manufacturer example makes the pattern clear. The
Daltile ProSeries rigid core click installation guide calls for undercutting door jambs so planks slide underneath, leaving expansion space at the perimeter and around the jambs, and using a coordinating T-molding or reducer to separate areas larger than 50 lineal feet. The takeaway is the principle: every product sets its own doorway and run-length rules, and the installation guide for the floor actually going into your house is what governs. As the homeowner, the question worth asking is simple: "Where will this floor need to break, and what will cover the break?"
Where the Transition Sits and How It Should Look
Two details separate a finished job from a close-enough one.
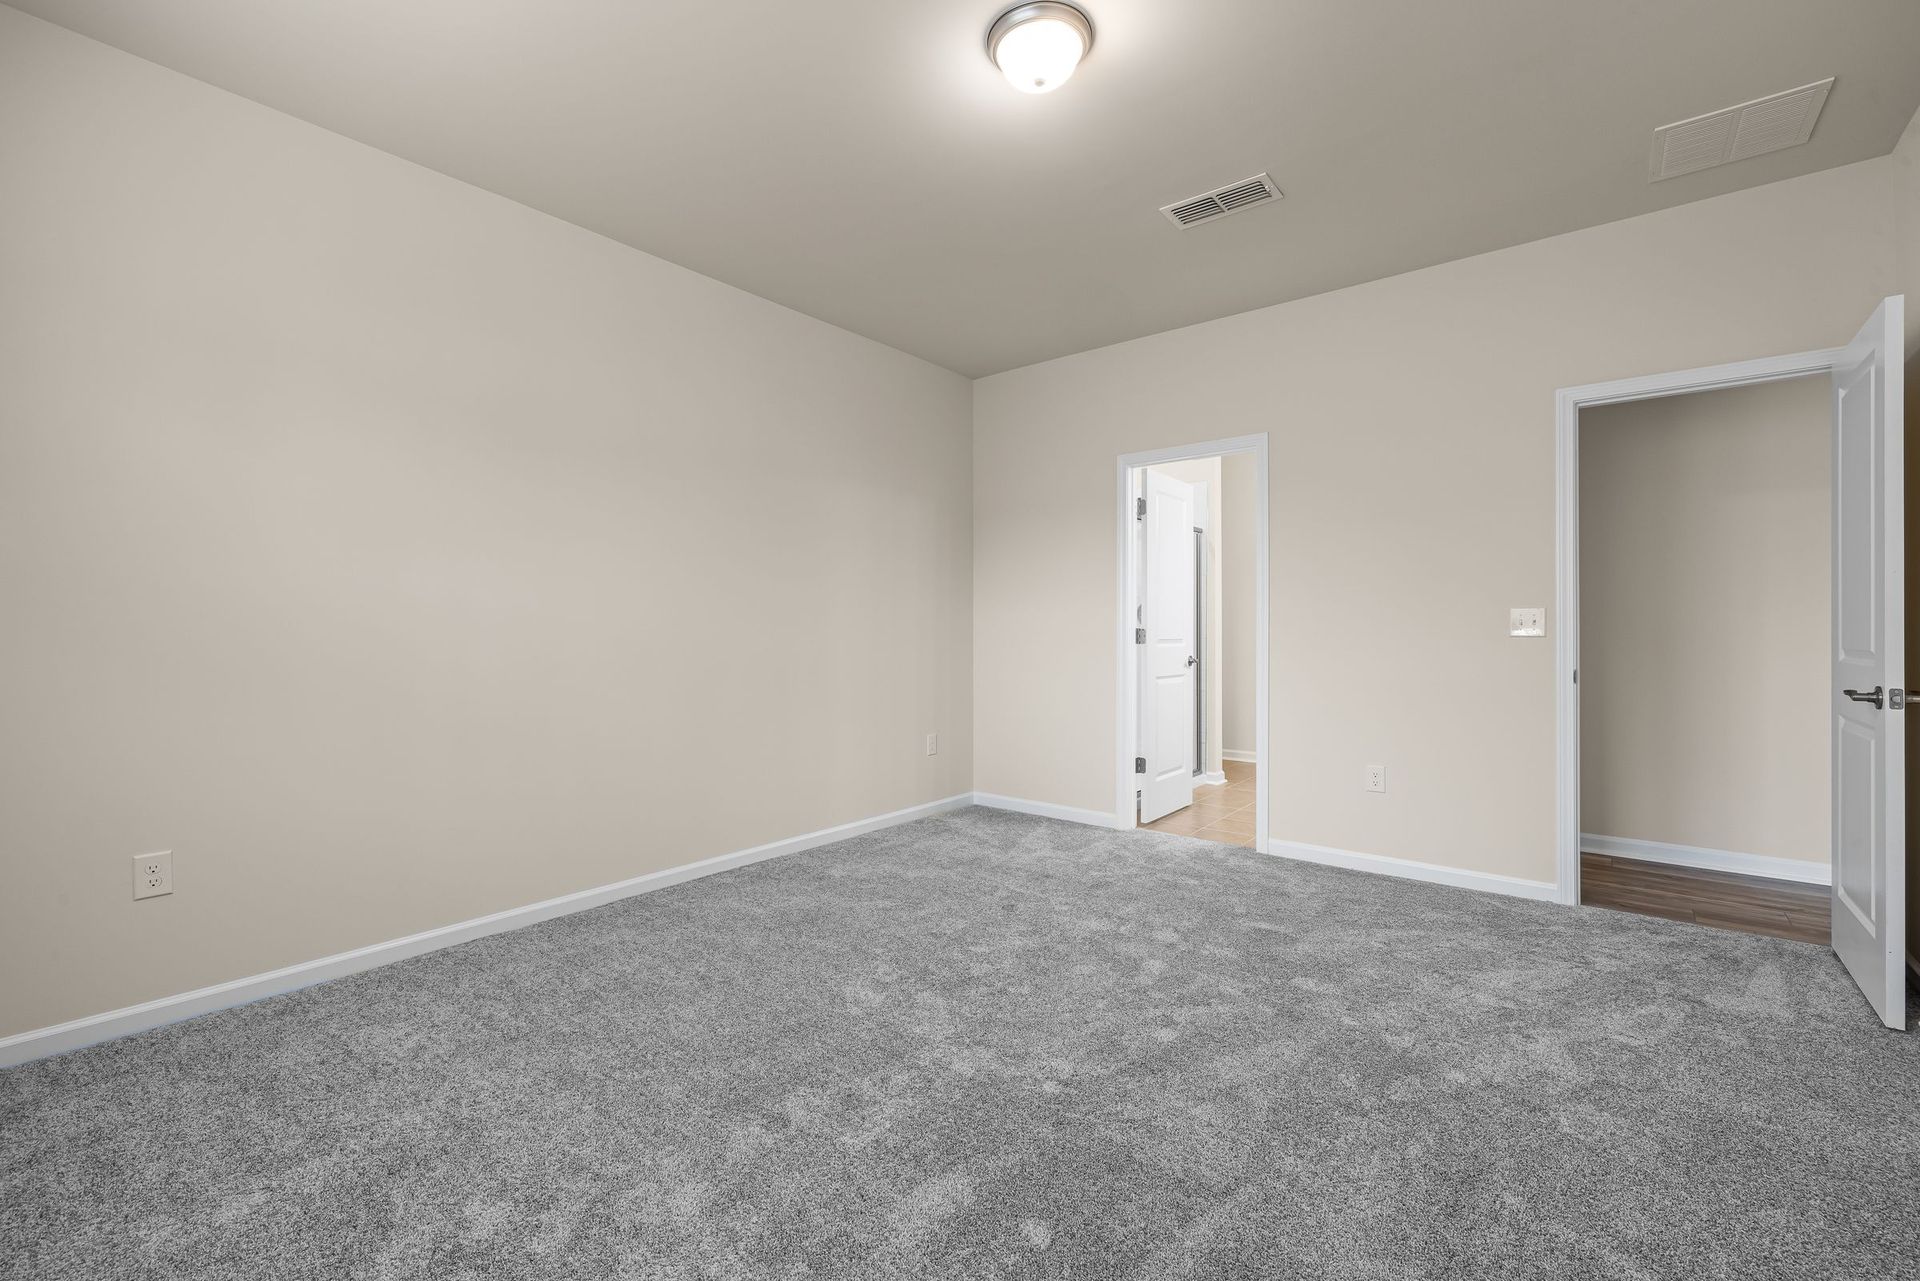
Placement: the transition centers under the closed door. When the bedroom door is shut, you should see only the bedroom's floor, not a sliver of hallway LVP peeking through. It is a sightline decision worth settling before install day.
Color: coordinating trim is designed to complement the floor, and it is rarely an exact match. Expect tone-on-tone coordination, not a color twin.
What to Confirm on Your Estimate
Bring this checklist to any flooring contractor, including us:
- Which transition type is planned at each doorway and seam: T-molding, reducer, end cap, carpet bar, or Z-bar
- Exact locations: every doorway, slider, fireplace, and floor-to-floor meeting point, marked during the walkthrough
- Finished heights of both floors and the plan for any difference: reducer, ramp, or prep
- Who supplies the coordinating trim: bundled with the flooring order or sourced separately
- What subfloor prep is included if heights or unevenness require it, and how it is documented
- Whether the installation plan follows the specific product's manufacturer guide for doorways and run breaks
Get the Doorways Right Before the First Plank Goes Down
A partial flooring replacement lives or dies at the doorways. A modest amount of planning up front, finished height checks, and the right profiles at every seam is what makes new LVP next to existing tile or new carpet meeting a hallway read as one intentional house instead of two jobs. A free in-home estimate is the right time to settle every transition point, both finished heights, and the trim before anything is ordered. We are a family-owned, licensed and insured flooring contractor (Flooring Contractor License S220) based in West Jordan, serving Salt Lake and Utah counties.
Schedule your free in-home estimate or call (801) 907-1908.