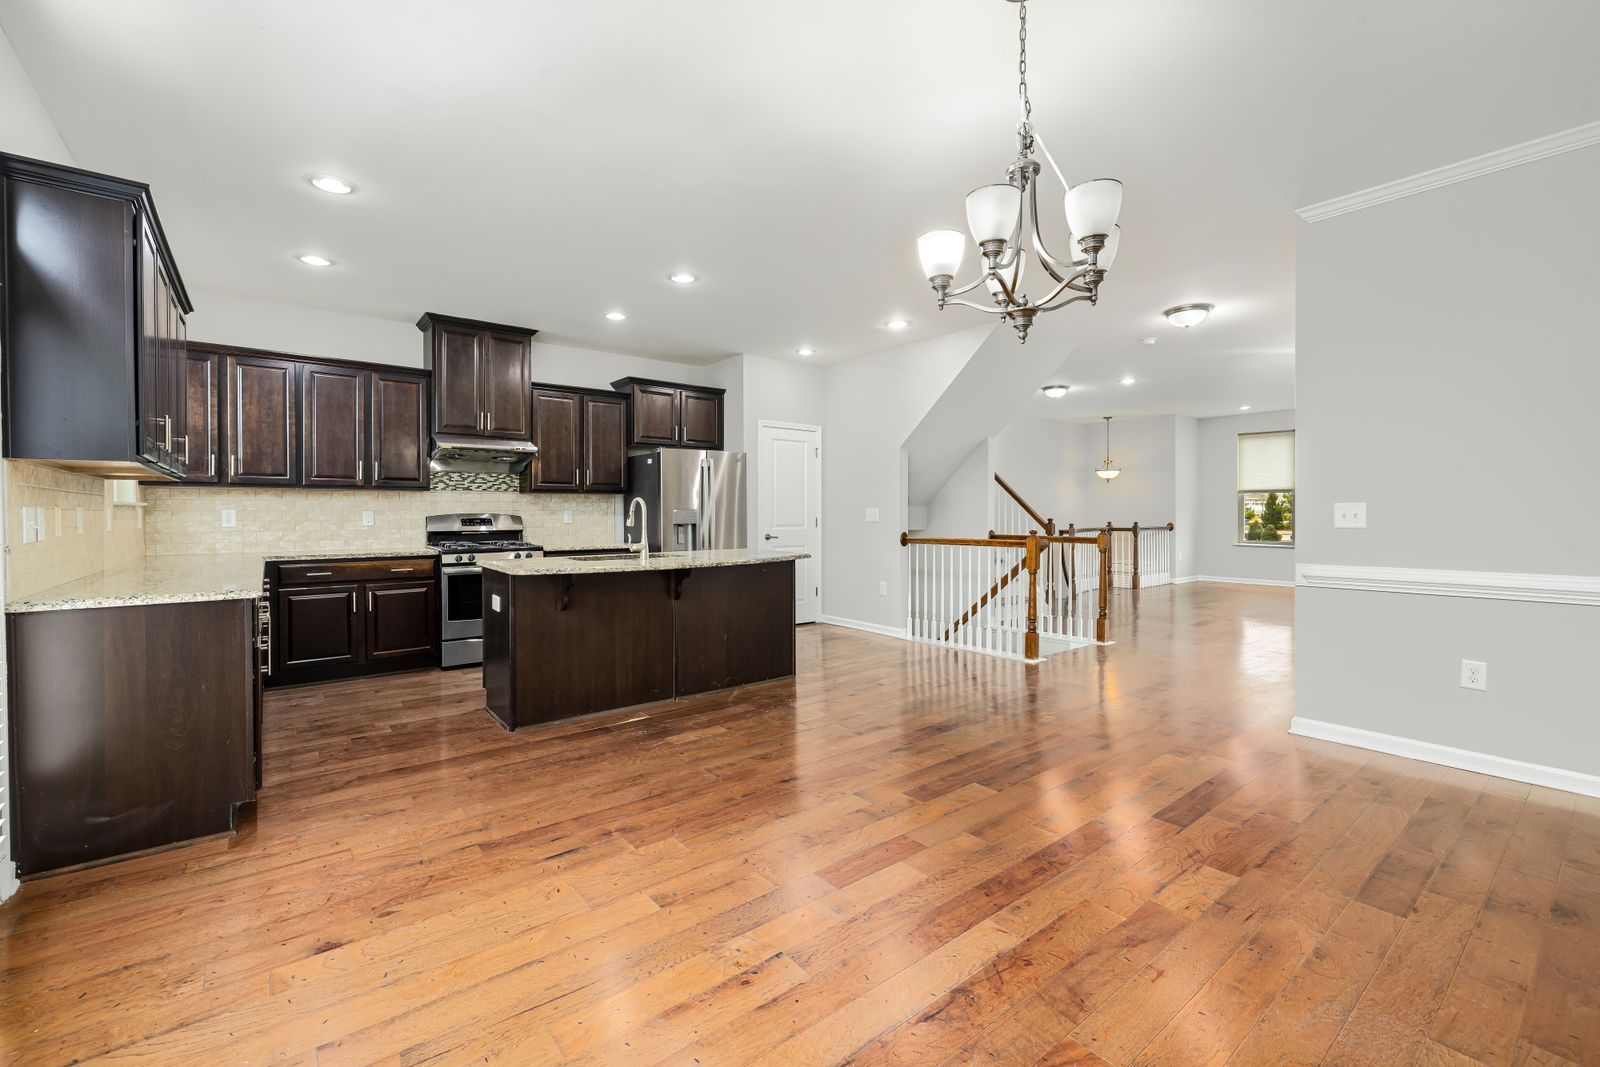
Stand at the bottom of the staircase and look up. The carpet on the front edge of each step is crushed flat and gone gray right where shoes land first. Downstairs, the main floor is already done in new luxury vinyl plank, and the stairs now look like the last holdout of the old house.
So, does LVP on stairs actually work? Yes, and it holds up well, as long as the right parts and prep go into it. Stairs are the one part of a flooring project where the trim, the prep, and the precision matter more than the plank itself. Before anyone comes out to measure, it helps to know which stair nose style fits your steps, how the treads get prepped and matched, why the top and bottom steps get planned first, and what belongs on a written estimate. Our
LVP and laminate installation page covers the wider scope of that work. This article stays on the stairs.
Can You Put LVP on Stairs?
You can, but a staircase is not a small floor. It is a system: planks, a nose profile or full tread caps, and the adhesive and fasteners that hold every piece to the stair underneath.
Here is the part that surprises people. A click floor that floats across your living room does not float on the stairs. The click joint connects planks to each other, not to the step. On a staircase, each tread and riser piece is glued, fastened, or both, so nothing shifts under daily traffic. Every step gets treated as its own small surface.
Rigid SPC cores and more flexible WPC cores feel and handle a little differently, and
our SPC vs WPC comparison covers those differences. For stairs, the question to settle is simpler: does the manufacturer of the floor you picked make matching stair parts and publish instructions for using that product on steps? On a stair job, the labor and trim usually decide the result more than the core does.
The Parts of the Stair That Shape the Job
A few names make the rest of this easier. The tread is the flat part you step on. The riser is the vertical face between two treads. The nosing is the front edge of the tread that sticks out over the riser below. A landing is the wide platform partway up or at the top. Then there are the two meeting points that get planned first: the top step, where the stairs meet the upstairs floor, and the bottom step, where they meet the main floor.
Stairs that have always been carpeted are often built to be covered, not seen. Once the carpet comes off, you may find rough treads, a rounded edge sized for carpet wrap, or gaps nobody was ever meant to look at. A few layouts add work. Open-sided stairs have an exposed end on each step that needs its own finished piece (often called a return). Rounded bullnose treads need a nose profile made for that shape, or the edge reworked. A wide top landing usually takes its own landing nose where the upstairs floor ends.
LVP Stair Nose Options: Flush, Overlap, or Full Treads
The front edge of each step takes the first footfall every time, so the LVP stair nose style you choose sets the look of the whole flight. There are three basic ways to finish that edge.
Flush stair nose
A flush stair nose sits level with the surface of the plank. The plank stops short of the edge, a shim made for that floor's thickness goes on at the front of the tread, and the nose butts against the plank so the step reads as one continuous surface. It gives the most built-in look. It is also the most exacting fit, because the plank thickness has to match the profile and the tread edge has to be square and consistent.
Overlap stair nose
An overlap stair nose sits on top of the plank edge and drops down over the front of the step, with no shim. It leaves a slight lip above the plank surface. That lip is normal: it covers and protects the cut edge of the plank. Overlap profiles are simpler to fit and more forgiving where heights vary a little from step to step. Some homeowners notice the lip underfoot and prefer flush, so it is worth deciding before anything is ordered.
Full LVP stair treads
Full LVP stair treads are one-piece caps that cover the whole step, nose included, and some lines offer matching riser pieces. Instead of building each step from planks plus a separate nose, you set one molded piece per step with no seam at the front edge. They tend to fit full stair makeovers and carpet-to-LVP projects. The same rule applies here: color and thickness have to coordinate with the specific floor line, especially when the stairs are matching a floor that is already down.
To see how specific the instructions get, look at one manufacturer's paperwork.
Mohawk's vinyl stair nose installation sheet says a single profile can be installed flush or overlapped and works on bull-nosed or square-nosed steps. The flush method uses a shim specific to the floor's thickness. Polyurethane construction adhesive goes on the underside of the nose, the attached pad is removed from planks used on stairs, and the adhesive needs at least 4 hours before anyone walks on it and 24 to 48 hours before full traffic. Other products have their own rules, and the instructions for the floor you choose are the ones that count. That sheet is an example of the detail involved, not a product recommendation.
Matching the Nose and Treads to Your Floor
Stair noses and treads are made to match specific floor lines and thicknesses. They are not universal parts, and a close-but-not-quite match shows right at the edge of every step, where light from a window or stairwell hits it.
The safest habit is to order the noses and treads with the floor, not after. Trim for a given color can be hard to find later if a line changes. If your stairs need to match a floor that is already installed, keep a spare plank and the product name handy for the estimate so the matching parts can be confirmed before anything is cut.
Prep That Decides How the Stairs Look and Last
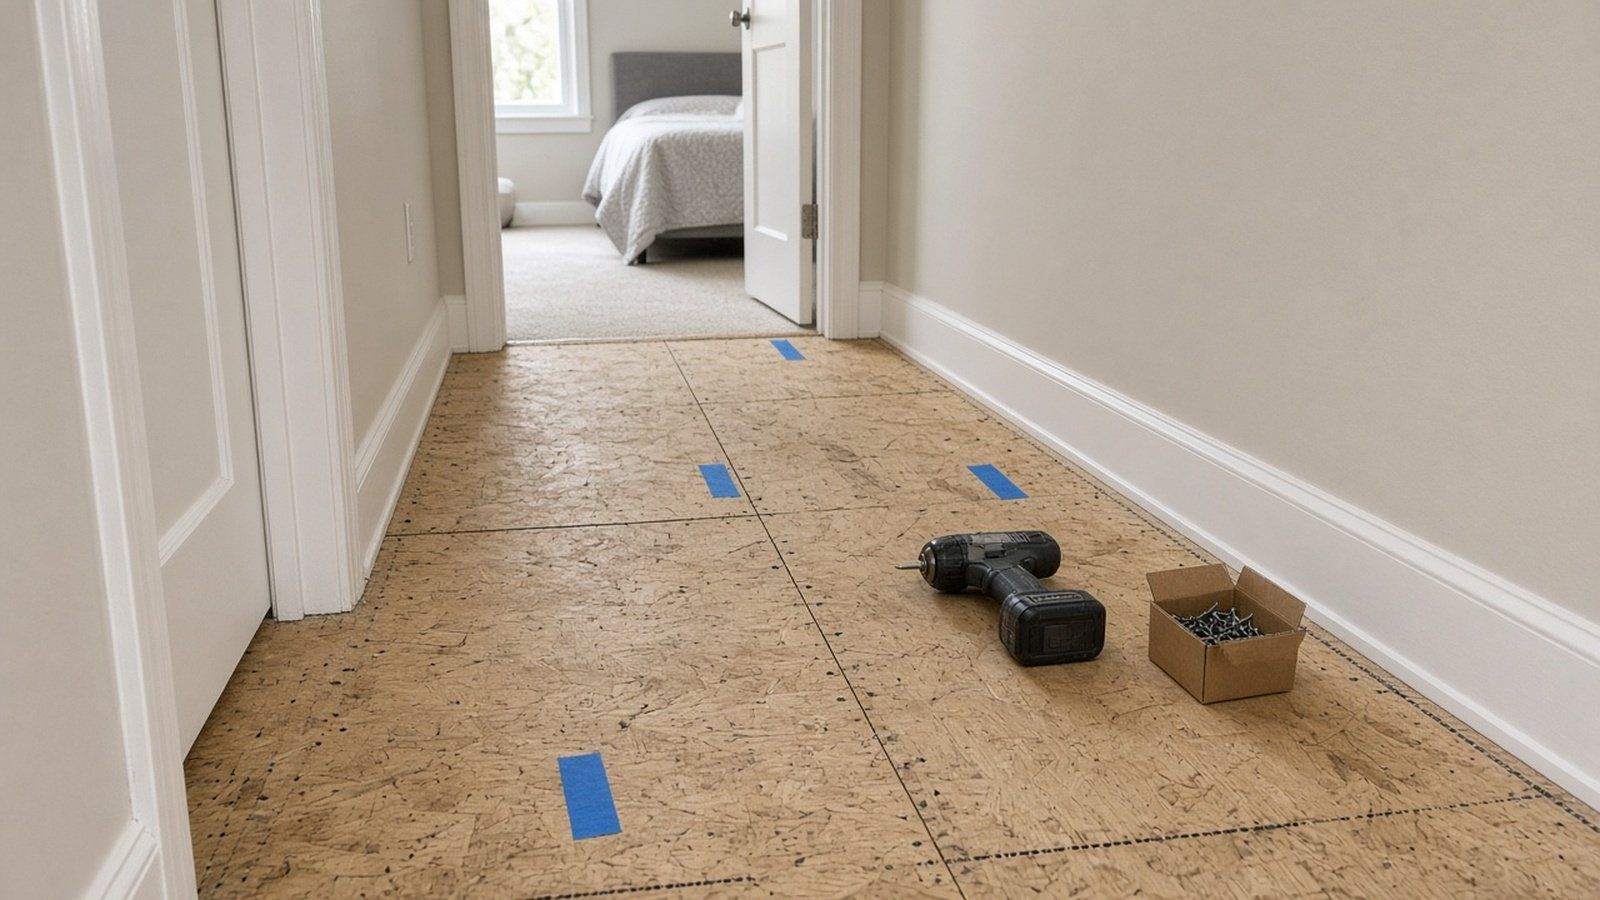
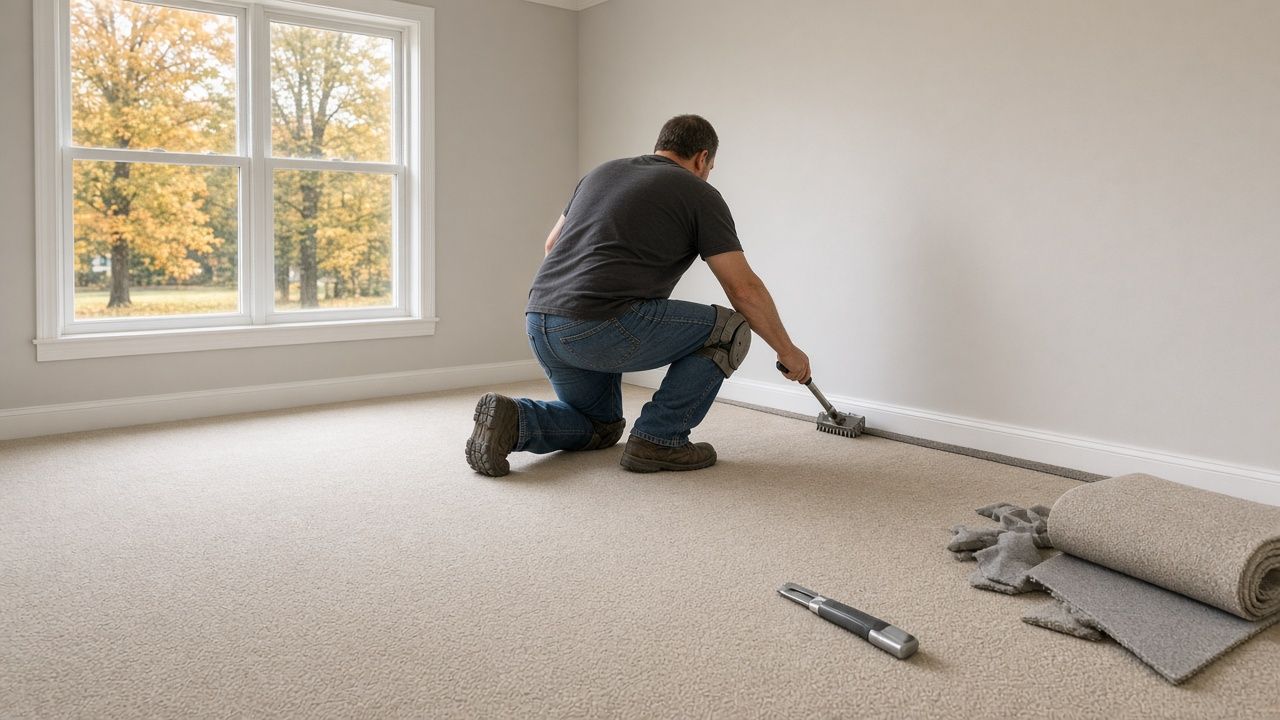
LVP on stairs is only as good as what is underneath it, so prep is where the job is won or lost. If carpet is coming off, all of it comes off: carpet, pad, tack strip, and the staples along every tread and riser. Leftover staples and strip fragments get in the way of adhesion and can show through. Old adhesive and debris get cleaned down to a sound surface.
Squeaks and loose treads should be fixed before anything is covered, because whatever is under the new surface stays there, noise included. Carpet-grade overhangs may need to be cut back or capped so the nose sits square. Treads that are cracked, soft, or damaged may need replacing, the same fix-the-base-first thinking behind our
subfloor repair work. The target is treads that are flat and level, because that is the surface every finished step gets judged against. In our LVP and laminate work, subfloor leveling and preparation and stair nose and transition strip installation are listed among what the job includes.
Rise and Code: Why the Top and Bottom Steps Get Planned First
Here is why the ends of the flight get attention before anything else. New tread material adds height to every step, so the middle steps all rise together and stay even with each other. The top and bottom steps are different. They meet floors that may not be changing by the same amount, so the first and last risers can end up taller or shorter than the rest.
That matters because stair rules care about consistency. The International Residential Code, the model code Utah's residential building code is based on, limits the difference between the tallest and shortest riser in a flight to 3/8 inch. It also calls for a nosing projection of 3/4 inch to 1 1/4 inches, varying no more than 3/8 inch along the stairway. You can read the details in
the stairway section of the 2021 International Residential Code. A careful installer works out the material thickness at the top and bottom steps before cutting a single riser. This is general information, and your local building department has the final word on how the rules apply to your home.
What the Install Looks Like, Start to Finish
Here is the sequence you will see on a typical staircase. Each step is measured on its own, because stairs are rarely identical, even within one flight. Risers and treads are cut and fitted one step at a time, then glued, fastened, or both. The nose goes on at each front edge following the product's instructions. The top landing and the bottom transition get finished so they meet the surrounding floors cleanly. Then the adhesive needs its cure window before the stairs take full traffic. Most of the thinking happens before the first cut, and that is a good sign on a stair job, not a slow one.
Daily Life on Vinyl Plank Stairs
Vinyl plank flooring on stairs feels different from carpet, and it is worth knowing how before you commit. Underfoot it is firm and even, without the give of carpet and pad. In socks there is more slide, and that is usually the first thing people notice. It also sounds livelier, since hard surfaces carry footsteps more than carpet does. Carpet still wins on softness and quiet, and that is an honest tradeoff.
The everyday win is cleanup. Spills, muddy paw prints, and winter grit wipe off instead of working into the fibers, which is often why the carpet is coming off in the first place. If kids or older family members use the stairs constantly, think about traction, lighting, and a solid handrail along with the surface. If you are still leaning toward carpet, our guide to the
best carpet for stairs covers that side of the decision.
DIY or Pro: Why Stairs Are the Toughest Part of an LVP Job
For the square footage involved, stairs take more labor than any other part of an LVP project. Every step is measured on its own. Cuts get fitted to treads that are rarely perfectly square. The nose has to be set to the product's instructions, and the top and bottom risers have to be planned before the first piece goes down.
The mistakes are the kind you notice every day: a nose that does not match the plank thickness, a gap or a proud edge at the nose line, an end step that feels off every trip down. A patient homeowner with a straight, closed flight, good tools, and overlap noses can take it on. Open-sided stairs, bullnose treads, and stairs that meet floors at different heights change the math quickly.
What to Ask For at the Estimate
A stair job goes smoother when the details are on paper before work starts. Make sure the written estimate covers:
- The stairs as their own line item, with the nose style named: flush, overlap, or full treads.
- Noses, treads, and any returns or landing nose matched to your floor line and ordered with the floor.
- Carpet, pad, tack strip, and staple removal, plus disposal.
- A plan for the top and bottom transitions, including how the end risers will land.
- Any tread repair or replacement found during prep, and how it will be handled.
Stairs are priced on the estimate after measuring, because no two staircases are the same. A measuring visit that raises these questions is a good one.
Get Your Stairs Measured
If the main floor is done and the stairs are the last holdout, one in-home visit answers the open questions: which nose style suits your treads, what prep the existing steps need, and how the top and bottom steps will meet the floors around them. Residential Flooring Solutions is a family-owned, licensed and insured flooring contractor (Flooring Contractor License S220) based in West Jordan, serving Salt Lake and Utah counties.
Request your free in-home estimate or call (801) 907-1908.