
Glue-Down vs Floating LVP: Which Install Method Fits Your Home
You already like the look of the plank in your hand. The color is right, the texture feels convincing, and you can picture it running from the kitchen into the hallway. What you have not settled yet is the question underneath the whole project: how will this floor actually be attached to what is below it? If you are standing on a concrete slab, the question feels heavier than it does upstairs on plywood. Whether to glue down LVP or let it float is one of the first decisions in a vinyl plank installation, and it is worth getting straight before anything is ordered or pried up.
The glue-down vs floating LVP question does not have one right answer that applies to every house. It usually comes down to three things: the specific product you choose, the subfloor underneath it, and the rooms involved. One plank from one manufacturer may only be installed one way, while a nearly identical looking plank from another line may allow or require the opposite. Getting the method straight now, including how a floating floor sits and what a written estimate should name, keeps the job from being decided in the middle of install day.
What It Means to Glue Down LVP vs Float It
The two systems are simpler than the terminology makes them sound.
A glue down vinyl plank installation means every plank is adhered directly to the subfloor using an adhesive. The adhesive is not a generic choice. The product's installation guide names the type, the trowel, the spread rate, and the substrate conditions that are allowed. The floor becomes a continuous, bonded surface, coupled to whatever is underneath it.
A floating floor works differently. The planks connect to each other, usually through a click-lock edge, and the assembled sheet of flooring simply rests on top of the subfloor with an underlayment layer between. Nothing is fastened to the floor below. The floor holds itself together edge to edge and moves as one unit.
When people compare glue down vs click lock lvp, it helps to keep the terms straight. Click lock describes the joining edge of the plank, the way one plank clips into its neighbor. Floating describes the whole system, meaning the finished floor is not attached to the subfloor. A click-lock product is almost always a floating product, but "click" and "float" are not two different installation methods so much as a component and the system it creates.
The product decides what is allowed, and the paperwork is not shy about it. As a single example of how manufacturer guides differ, one Daltile ProSeries rigid-click care guide states plainly that the floating click floor must not be glued, nailed, or otherwise fastened to the subfloor, and that existing carpet is not an approved surface underneath it. A separate Daltile ProSeries LVF glue-down instruction set describes a completely different, adhered method with its own substrate rules and adhesive requirements. Those are examples of manufacturer paperwork, not products anyone is recommending to you here, and not a universal code. The point is that two similar looking products can carry opposite requirements, and the guide that ships with your chosen floor is the one that governs.
Naming can add a little confusion when you read estimates. Some contractors write glue down luxury vinyl plank, some write LVP, and some write LVT, which is the tile-format cousin of the same product family. They are all referring to the same basic world of rigid vinyl plank and tile. Sheet vinyl is a genuinely different product, a continuous roll with its own glue-down and loose-lay methods, and it is worth comparing sheet vinyl separately if you are weighing that product. For this article, we are sticking with plank.
One service note, since it comes up early: Residential Flooring Solutions installs both floating and glue-down LVP systems, as well as laminate flooring with proper underlayment. The method used on your floor will follow the product's guide and your subfloor, not a shop preference.
How Each Method Feels and Sounds in Daily Life
Once the floor is down, the difference between the two systems is mostly about feel and sound, and honest descriptions of both come hedged, because products vary.
A floating floor, especially one installed over a quality underlayment, often feels slightly cushioned underfoot. There is a small give to it. That same construction can sound more hollow on a hard slab, particularly in a large open room where footsteps carry. Some homeowners describe a faint tap or a subtle drum effect; others never notice it at all.
A glue-down floor often feels firmer, closer to a tightly set tile, because the plank is bonded directly to the substrate. The adhesive couples the flooring to the slab or plywood beneath it, and the result tends to transmit less of that hollow resonance.
Here is the part worth understanding before you blame the method. Hollow spots or soft patches in a floating floor very often trace back to subfloor flatness or prep, not to the idea of floating itself. A slab with a dip in it will let a floating floor flex over that dip, and that flex is what you feel and hear. The same slab, properly leveled, can carry a floating floor that feels solid everywhere.
Sound and feel also vary by product and by the underlayment paired with it. The most useful thing you can do while shopping is to walk on installed samples or displays laid over a subfloor similar to yours, a hard surface if you have a slab, rather than expecting any description to predict the result exactly.
Where Each Method Often Fits
Think of this as a decision map rather than a prescription. Rooms do not demand one method, but they do raise questions that one method may answer better.
Kitchens, hallways, and main living areas are where either method can belong. The deciding factors are usually the product you fell for and the condition of the subfloor, not the room label.
Wet areas like baths and laundry rooms are where product choice and installation rules matter as much as, or more than, the method. A floor with a waterproof or water-resistant core, installed per its guide with the right perimeter treatment, is what protects the room. The attachment method alone does not make a floor waterproof. If wet rooms are part of your project, it is worth comparing waterproof flooring options with that specific requirement in mind.
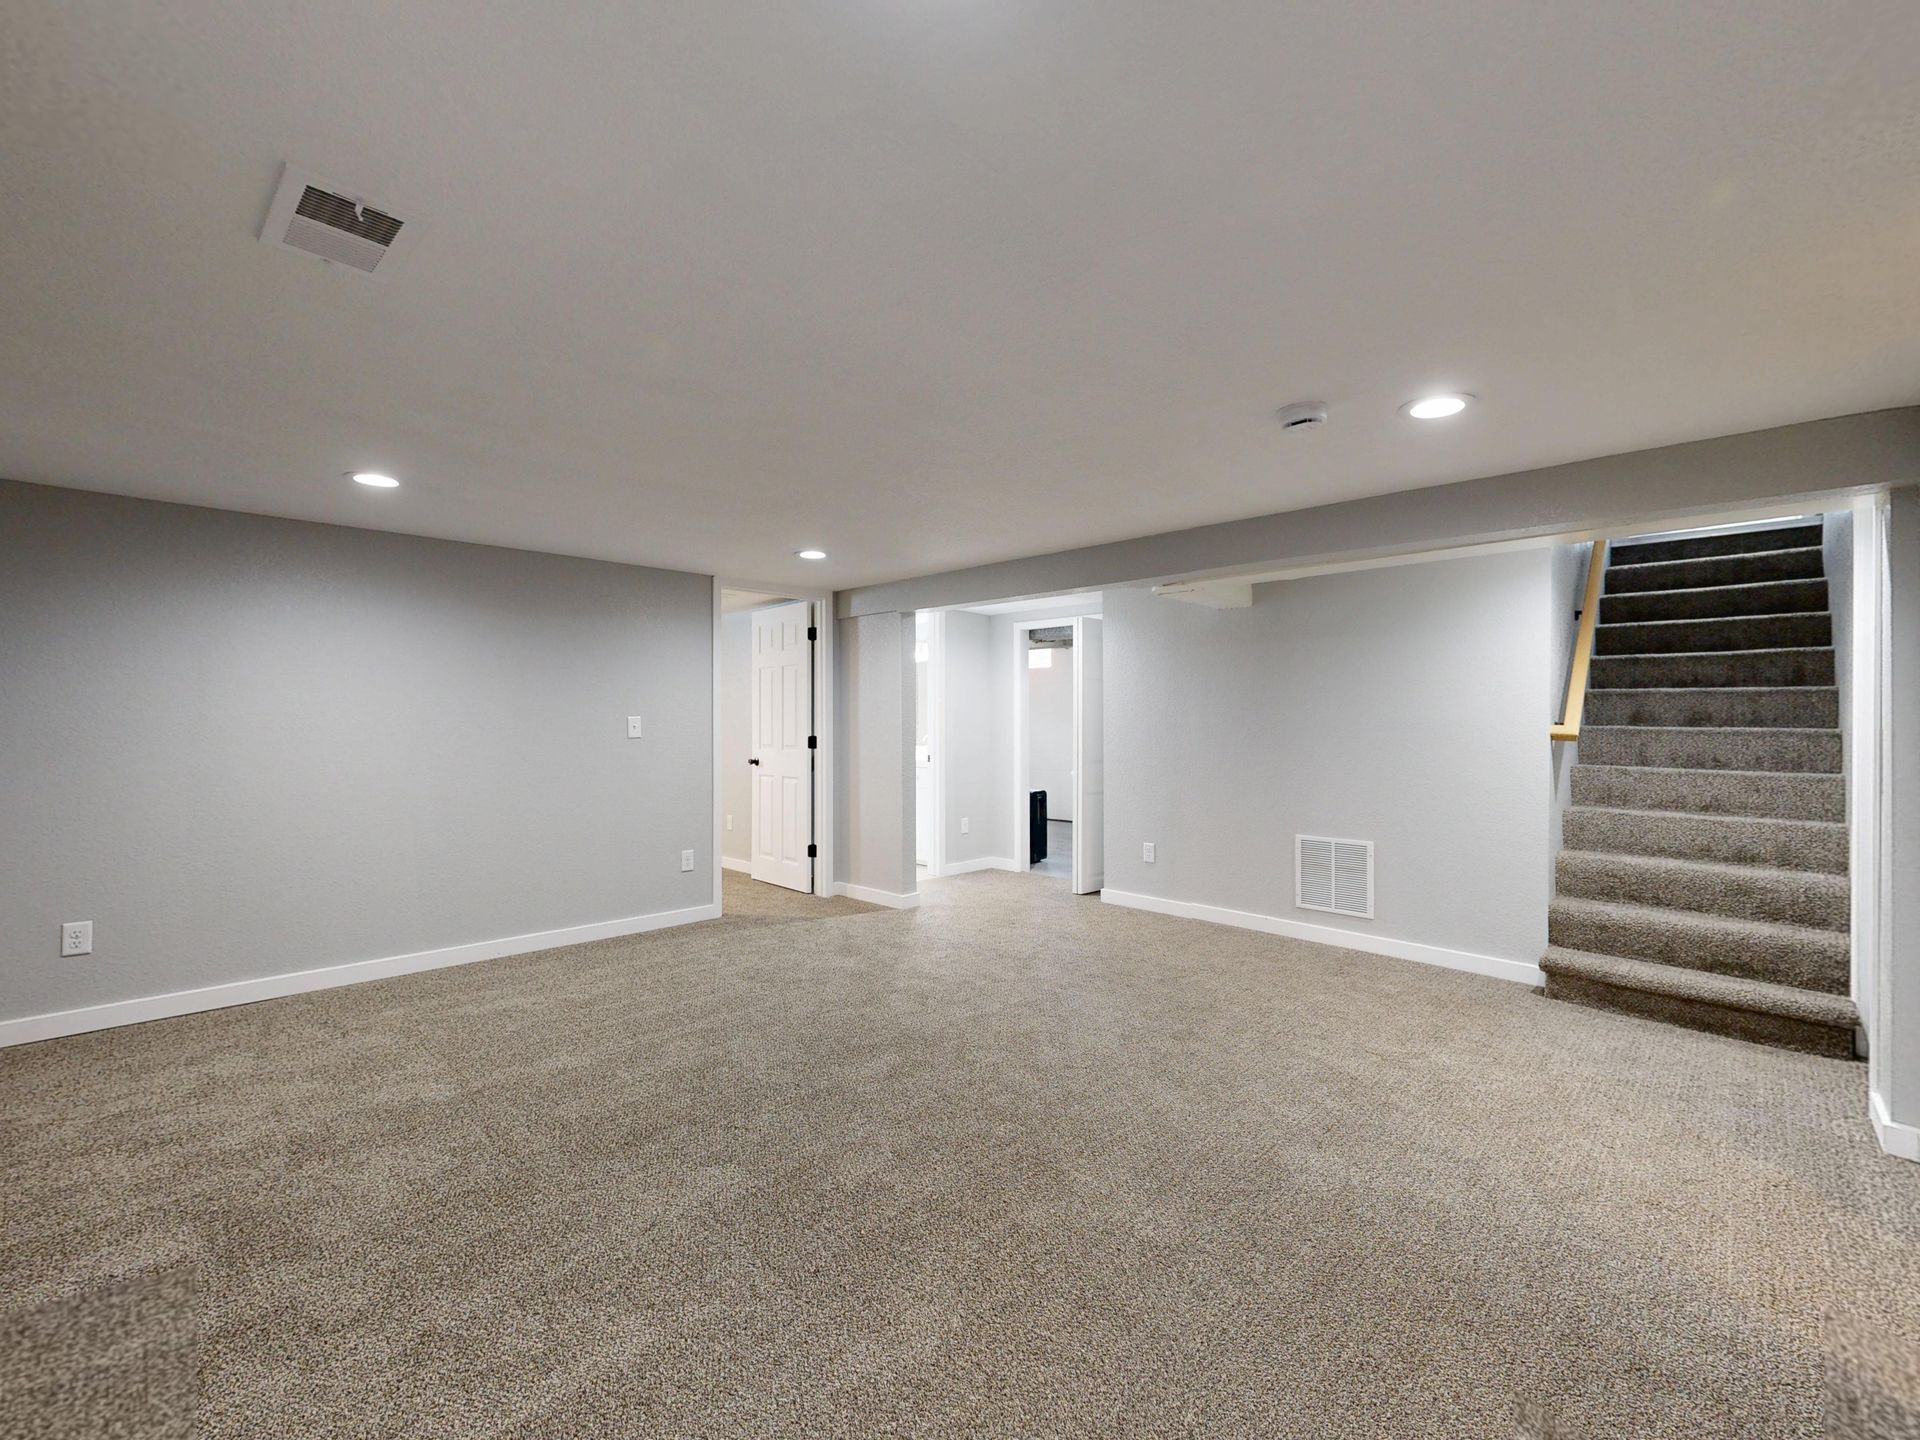
Slabs and basements are not off limits for either method. Both glue-down and floating LVP are used over concrete all the time, provided the surface is properly prepared and moisture is addressed according to the product's instructions. Utah basements and ground-level slabs are common installs; what makes them succeed is prep, not a magic method. Moisture and flatness belong in that same conversation, and they get their own section below.
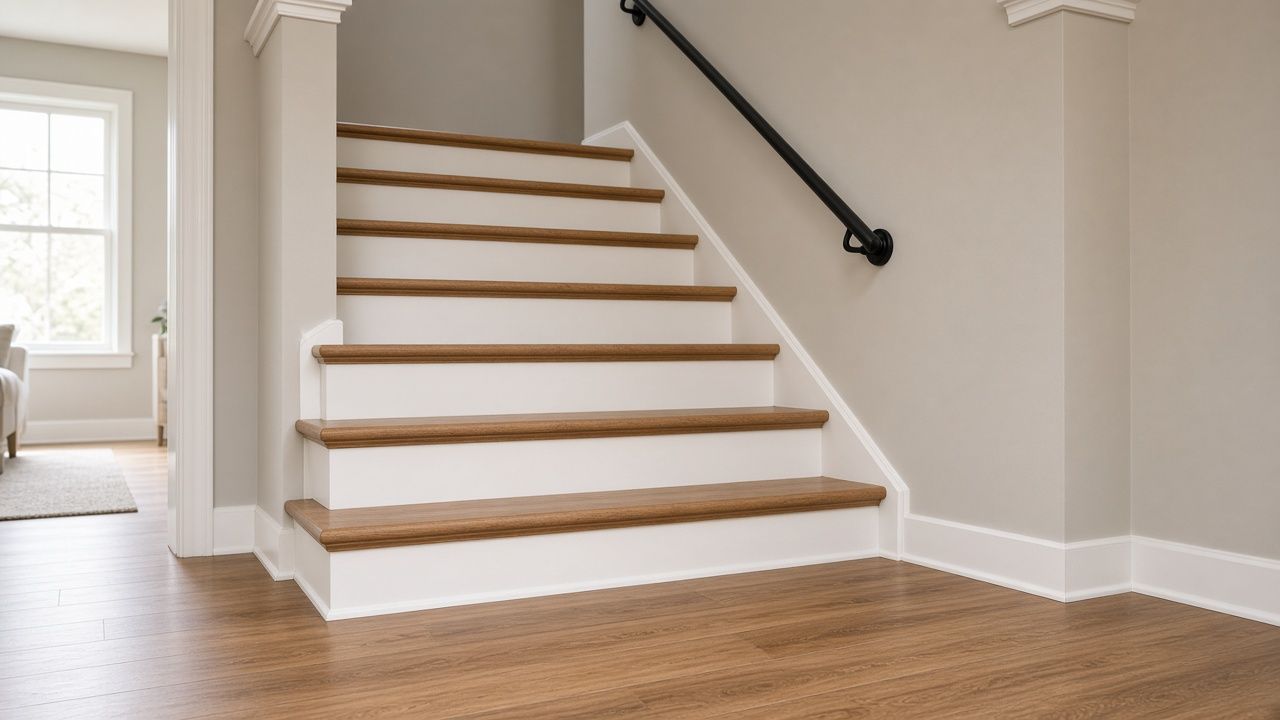
Stairs are a separate scope. A floating field floor flowing through your main level and a set of stairs wrapped in plank are two different jobs with different materials, and they are usually estimated separately. You can read more about LVP on stairs if your project includes them.
Fixed cabinets, islands, and toilets deserve a direct question: how will they be handled? Some floating-product guides restrict pinning the floor in place under heavy cabinetry, because the floor needs room to move as a system. Your installer should tell you how the chosen guide treats those fixtures before the floor goes around or under them.
Height and edges are the quiet variable. Glue-down and floating builds can end at slightly different finished heights, which affects where transitions land and how they meet adjacent flooring. If you have tile in one room and carpet in the next, the plan for those height breaks belongs in the conversation early, and flooring transitions are worth reviewing so nothing is improvised at the end.
Moisture and Subfloor Prep Decide More Than the Plank Does
The plank you chose is rarely the riskiest part of the installation. The surface under it is.
A damp or uneven subfloor needs to be understood before either method goes down. For general background on moisture and mold in homes, the EPA's mold guidance is a solid reference. What it does not do, and what no honest article should do, is hand you a numeric pass-fail cutoff for your slab. Those numbers live in the product's installation guide, and they vary by product. Moisture testing methods, whether that is calcium chloride testing, in-situ probes, or another approach the guide names, all have acceptable ranges set by the manufacturer.
That means the practical question for you is simpler: does the estimate include moisture testing, or is it a documented extra? Ask for that in writing so you know what was checked and what was assumed.
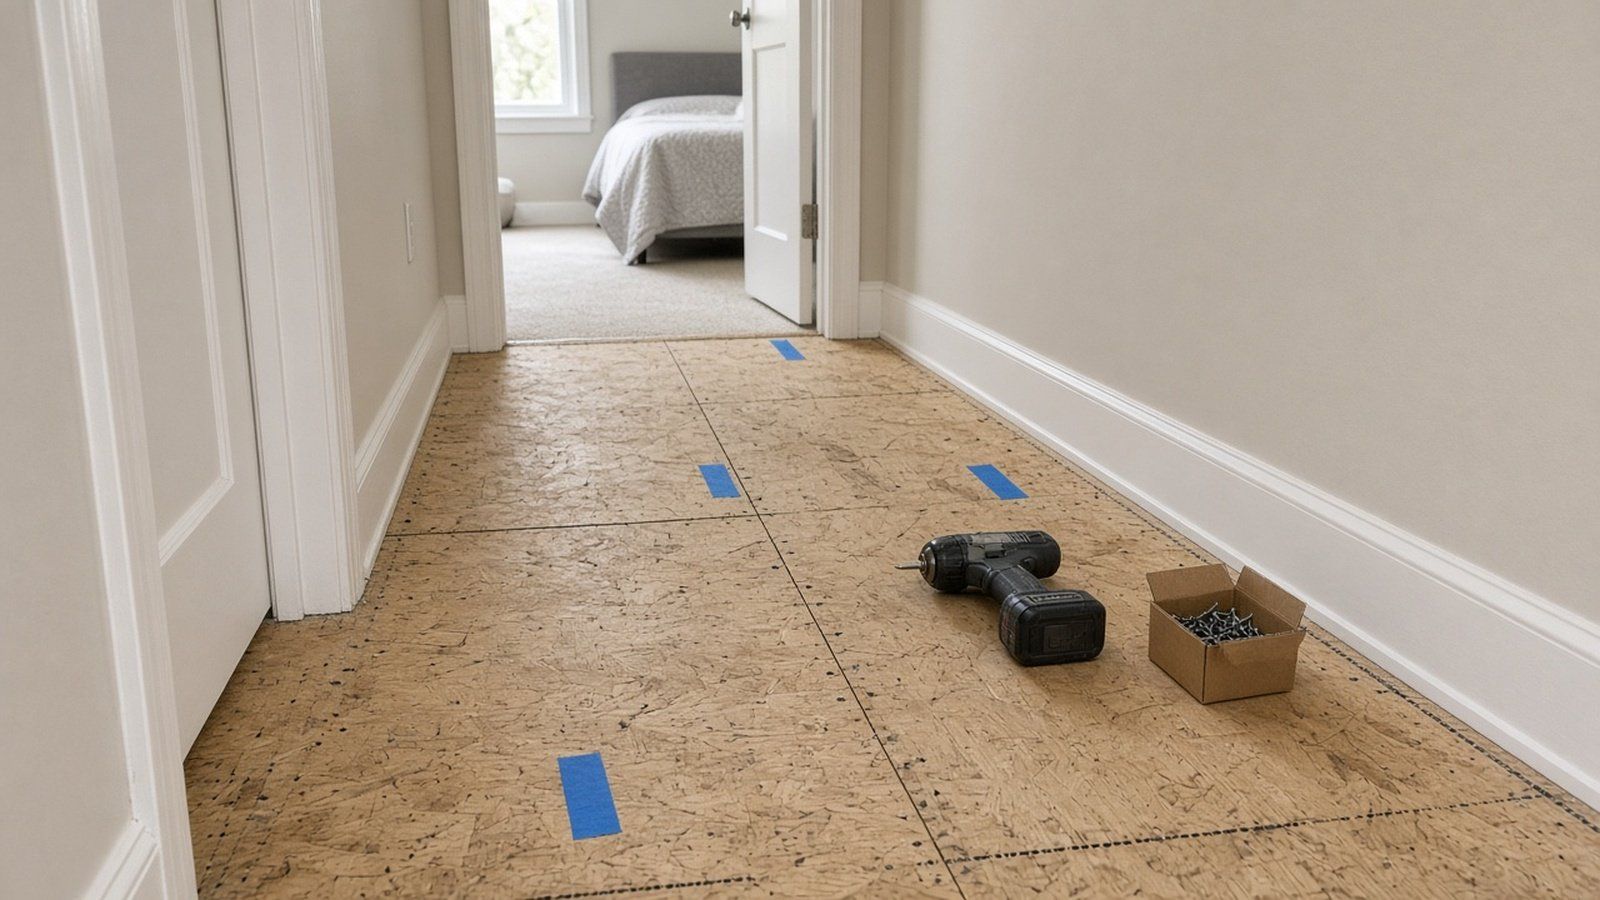
Flatness matters for both methods, and it matters especially for floating floors. Remember the hollow spots from earlier. If inspection or tear-out reveals dips, cracks, or damage that needs repair, subfloor repair is its own line of work, and it is far easier to plan than to discover mid-install. A useful habit as a homeowner: if an installer finds something unexpected after the old floor is up, ask that it be documented and approved before any additional work proceeds. That protects both sides, and any contractor worth hiring will welcome the request rather than resist it.
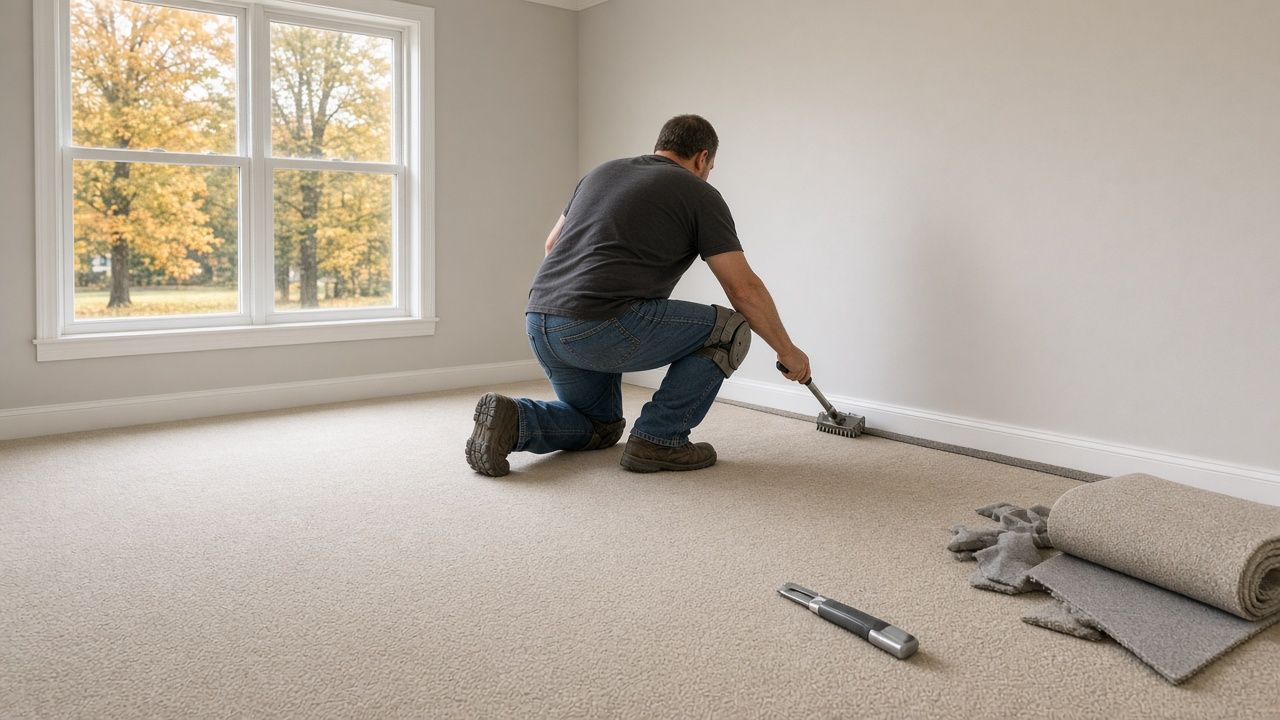
One more prep note that comes up constantly in Utah remodels: existing carpet is almost always removed, along with the pad and the tack strip, before LVP goes down. Some manufacturer guides explicitly list carpet as an unapproved surface, as the example documentation earlier showed. There is no reliable over-carpet shortcut, and anyone offering one is skipping the guide.
Repairs, Movement, and Long-Term Behavior
Both methods can be repaired when a plank is damaged, but the approach differs by product, and this is work for your installer rather than a DIY tutorial. In a glue-down floor, a damaged plank is typically cut out and replaced with an adhered patch piece. In a floating floor, repair can mean disassembling from the nearest wall to reach the damaged plank, or a plank swap from the top, depending on the product. Neither is a reason to choose one method over the other; it is just worth knowing that neither is unfixable.
Movement is where the two systems genuinely differ in philosophy. A floating floor is designed to move as a system. It expands and contracts as a unit, which is why many guides call for a small gap at the perimeter, hidden by baseboard or trim, and why very long runs sometimes need planned breaks. Your installer follows the guide's requirements for your room dimensions. A glue-down floor is restrained by the adhesive bond, so the movement conversation shifts to temperature and sunlight instead. Large temperature swings and direct, sustained sun exposure affect vinyl flooring of either type, so consistent indoor conditions are the friend of both systems.
One quiet reason to insist on install-per-guide work: manufacturer warranty coverage is often tied to following the installation instructions. If a floor is glued when its guide forbids gluing, or floated when it is specified as adhered only, the coverage conversation gets difficult fast, regardless of who did the work. That is a general fact about how product warranties work, not a statement about any specific coverage length.
What a Written Estimate Should Specify
A useful estimate names the method, not just a product category. "LVP installed" is not enough information to compare bids or hold anyone accountable. Here is what belongs in writing:
| Point of comparison | Glue-down LVP | Floating LVP |
|---|---|---|
| What it usually means | Planks are adhered to the subfloor with the adhesive the product guide calls for | Planks lock to each other and the assembled floor rests on the subfloor, often over underlayment |
| Where it often fits | Rooms where a firmer, fully bonded feel is the priority, when the product and subfloor allow it | Rooms where a floating system is approved, the subfloor is flat and ready, and the product is click-lock |
| Subfloor and moisture | Substrate prep and moisture testing follow the glue-down guide | Flatness and moisture still matter; the floating guide sets the tolerances |
| Height, edges, and fixtures | Finished height and fixture details depend on the adhered build and the guide | Expansion space, transitions, and cabinetry rules come from the floating guide |
| What to confirm on the estimate | Method named, adhesive called out, prep and testing included or documented as extras | Method named, underlayment called out, prep, transitions, and expansion details in writing |
- The rooms in scope, listed by name, so nothing is assumed.
- The specific product, by name and color, so there is no substitution surprise.
- The method for each area: glue-down or floating, stated explicitly.
- The underlayment or adhesive called out by type, not just "includes materials."
- Moisture testing and subfloor prep: what is included versus what would be a documented, approved extra.
- Transitions and trim, including where they land and how height breaks are handled.
- Stairs, clearly in or out of scope.
- Furniture moving and access, so moving day does not become a negotiation.
None of this requires you to know flooring. It requires the estimate to say what a stranger could read and understand.
One red flag deserves its own sentence: if you ask for a floor to be glued when its manufacturer guide forbids gluing, or floated when it is specified as glue-down only, a good installer will tell you no and explain why. An installer who agrees to anything without checking the guide is telling you something about the rest of the job.
Making the Call for Your Home
Run the decision in this order.
First, confirm what your chosen product allows. The installation guide, not preference and not habit, defines the options. If the product is floating only, that ends the glue question. If it is glue-down only, that ends the floating question. Many products allow one method cleanly and are not ambiguous about it.
Second, match the method to your subfloor and your rooms. A slab with moisture handled per the guide, a kitchen with an island, a bathroom, a long hallway, each of these shapes the conversation. Prep quality matters more than method choice for how the floor will feel.
Third, make sure the estimate says so. Method by room, prep by name, testing included or documented. If those words are not on the page, the decision is not actually made.
The plank look, the thing that drew you in at the start, rarely picks the method by itself. Two identical looking floors in the same neighborhood can be installed two different ways, both correctly, because the products and the subfloors differed.
Get the Method in Writing Before Anyone Starts
The best way to settle the glue-down versus floating question for your specific home is to have someone look at your actual subfloor, with your actual product's paperwork, and put the answer in writing. A free in-home estimate does exactly that: someone measures the rooms, inspects the surface, and confirms which method the product you chose actually supports. You can
request your estimate here or call
(801) 907-1908. Residential Flooring Solutions is a licensed and insured flooring contractor, Flooring Contractor License S220, based in West Jordan and serving homes along the Wasatch Front in Salt Lake and Utah counties.
Recent Posts