What to Expect During Flooring Installation in Utah
Once the flooring is chosen, the questions become practical. What needs to be moved?
Will the house be loud or dusty?
What happens if the old floor comes up and the surface underneath needs work? And when can the room go back to normal?
Installation has a familiar order, even though the details change with the product, room layout, and existing conditions. For homeowners in West Jordan and across the Wasatch Front, a little preparation makes the workday much easier to live through. This is a Residential Flooring Solutions guide, so any company-specific scope or scheduling detail should be confirmed in the written estimate.
Quick Answers Before Installation Day
- Clear the room. Remove breakables, electronics, rugs, closet contents, and small furniture. Confirm any appliances or unusually heavy items before the crew arrives.
- Expect a careful look beneath the old floor. Removal may uncover an uneven, loose, or moisture-affected surface that needs work before new material goes down.
- Plan around the product, not a generic timeline. Carpet, floating floors, sheet vinyl, and glue-down products have different preparation and aftercare requirements.
- Use the final walkthrough. Check edges, transitions, seams, and the overall surface while the crew is still on site.
Before Scheduling: Start With the Written Scope
Flooring projects are measured in the home for a reason. A square-foot number does not show closets, transitions, stairs, furniture, door clearances, slab conditions, or the shape of a room. Those details can affect material quantity, labor, and how the finished floor connects to adjacent spaces.
At the estimate, ask what is included and what is not. The list should cover the flooring itself, removal and disposal, furniture moving, transitions, trim, subfloor preparation, and any work around appliances or stairs. Residential Flooring Solutions offers free in-home estimates; use that visit to point out anything that could affect the work before the date is set.
Bring up concerns such as an old squeak, a soft spot near a bathroom, a door that already drags, a cracked basement slab, or a threshold where two rooms meet. They may not change your product choice, but they can change the preparation plan.
Preparing the Home
Installers need a clear route from the entry to the work area. Materials, tools, removal debris, and people all move through that route during the day. The goal is not a spotless home; it is a safe, usable work area.
- Take down wall décor, mirrors, and fragile items near the work area.
- Empty closets if the new floor will continue into them.
- Disconnect or relocate electronics and loose cords.
- Set aside pets and plan for children to stay out of the work zone.
- Confirm responsibility for refrigerators, stoves, washers, pianos, aquariums, safes, or built-in furniture.
Do not assume furniture moving, appliance disconnection, haul-away, or work around specialty items is included. The Carpet and Rug Institute’s installation guidance similarly recommends confirming moving and disposal responsibilities before installation and removing breakable items from the space.
Removal Reveals the Condition of the Floor Beneath
Old-floor removal can be noisy and dusty, especially with tile, glue-down materials, or stubborn adhesive. Carpet and pad are generally simpler to take up, but every existing floor leaves a surface that has to be checked before the new one is installed.
This is where a hidden problem may appear. A surface that looked fine under carpet can have movement, soft areas, uneven spots, loose panels, or moisture concerns. The installer should explain what was found, show how it affects the installation, and clarify any additional work before proceeding.
New flooring usually cannot solve a structural or moisture-related problem in the layer beneath it. Leveling, fastening, patching, or other preparation may be recommended before installation continues. See the company’s subfloor repair service for the conditions it addresses.

What the Installation Looks Like by Product
Carpet
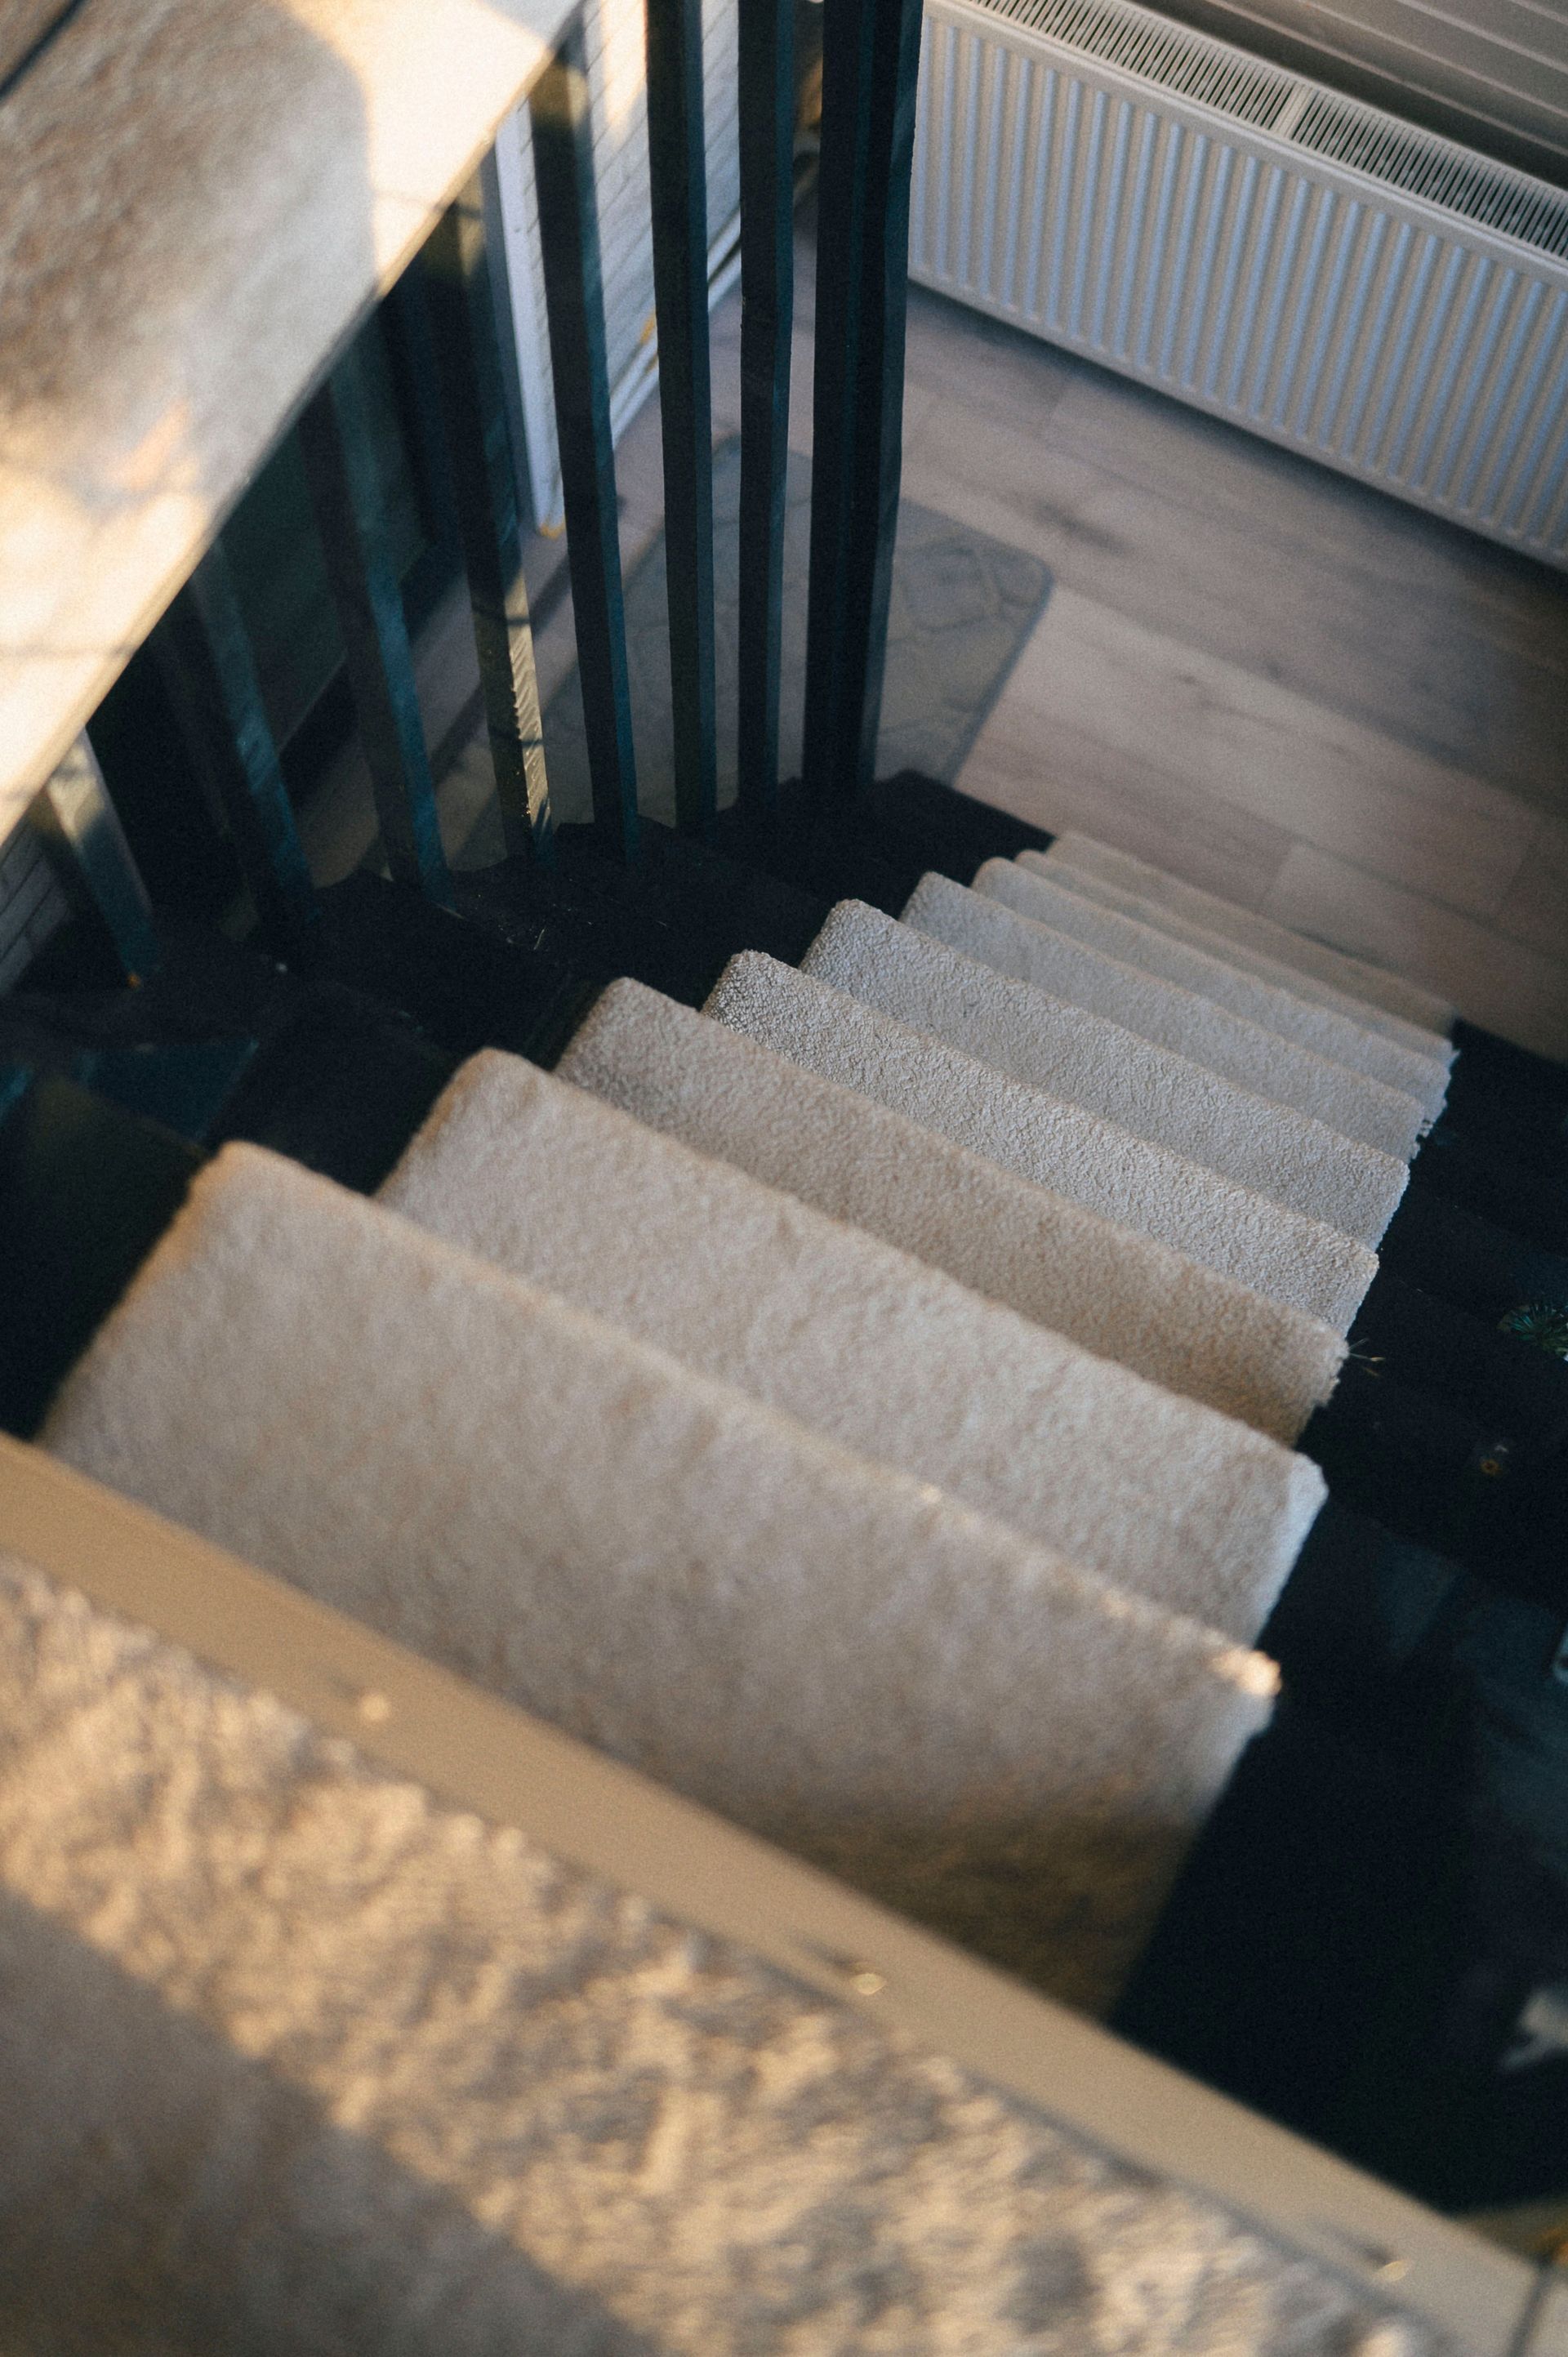
Carpet work typically includes pad, layout, seam planning, stretching, trimming, and transitions. Stairs, closets, and rooms with several angles can take longer than an open room of the same size. The Carpet and Rug Institute advises that carpet be power-stretched to minimize wrinkling and rippling, and it recommends placing seams in less visible areas while recognizing that seams are not always invisible.
A straightforward single-room carpet installation may be completed in a day, but stairs, several rooms, furniture, removal, and subfloor repairs can extend the work. The company’s carpet installation service details explain its stated scope for measurement, preparation, stretching, and final walkthroughs.
Luxury Vinyl Plank and Laminate
Many LVP and laminate floors use floating, click-lock construction. The surface is prepared, the layout is set, rows are fitted around walls and obstacles, and trim or transitions finish the edges. Small details matter here: the surface has to be suitable, cuts around jambs need to be clean, and the product needs the expansion space specified in its instructions.
Do not apply one acclimation rule to every product. Winter heating can make indoor conditions much drier than they are in other seasons, so it is especially important to follow the product-specific site requirements. Shaw’s vinyl installation guidance calls for a climate-controlled environment for its luxury vinyl, while Mohawk’s laminate instructions recommend 24 hours of acclimation for that product line. Those are brand-specific examples; use the instructions for the exact floor you selected.
Sheet Vinyl and Waterproof Flooring
Sheet vinyl depends on a smooth substrate because imperfections below can show through the finished surface. Installation can involve careful measuring, cutting, fitting, adhesive or loose-lay preparation, rolling, and detailed edge work. Residential Flooring Solutions describes sheet vinyl installation options that include both glue-down and loose-lay methods.
Waterproof products still need the right preparation. A waterproof surface does not eliminate questions about a basement slab, moisture below the material, or transitions at the edge of the room. The company’s waterproof flooring service explains the types of products it installs and its approach to moisture-barrier and subfloor preparation.
Plan for Variables, Not a Fixed Calendar
A simple room can move quickly. Whole-home projects, stairs, old-floor removal, subfloor repairs, and rooms with many thresholds tend to extend the schedule. The table below is useful for discussing the project with an installer; it is not a promise about a specific home.
| Project or product | Core work | Common schedule variables | What to confirm |
|---|---|---|---|
| Carpet | Removal, pad, stretching, seams, transitions | Stairs, multiple rooms, furniture, subfloor repairs | Moving, haul-away, stairs, seam locations |
| LVP or laminate | Surface prep, layout, click-lock assembly, trim | Floor flatness, cuts, product conditions, transitions | Product instructions, room access, trim plan |
| Sheet vinyl | Smoothing, fitting, adhesive or loose-lay work | Patching, removal, complex cuts, adhesive cure | Existing-floor condition and timing for heavy items |
| Waterproof flooring | Moisture planning, installation, perimeter details | Concrete conditions, below-grade rooms, repairs | Product system, moisture barrier, site prep |
| Whole-home work | Room-by-room sequencing and moving logistics | Occupied rooms, discoveries, material availability | Access plan, temporary living areas, approvals |
Transitions, Trim, and the Final Walkthrough
Most floors end at a doorway, another surface, cabinetry, a stair, or a wall. T-moldings, reducers, end caps, thresholds, and stair noses solve different edge conditions. Before work begins, ask how the new floor will meet adjacent rooms and doors, whether baseboards will be removed or worked around, and who handles any paint or caulk touch-up afterward.
Once the work is complete, walk the floor before the crew leaves. Check closets, edges, thresholds, vents, and stairs. Look across the surface in good light. Walk it in socks or soft shoes and note movement, raised edges, damaged boards, visible gaps, adhesive bubbles, or transitions that do not sit securely. Confirm that removal, debris, and cleanup match the written scope.
The timing for foot traffic, rugs, furniture, and cleaning depends on the product and method. Some floors can handle light traffic soon after completion; glue-down materials may need cure time before heavy furniture goes back. Ask for the product care instructions and keep spare material, warranty information, and installation records where you can find them later.
Before the crew arrives, make sure the written scope identifies responsibilities for removal, disposal, furniture, appliances, subfloor work, trim, and transitions. Ask how discoveries will be documented, priced, and approved if the condition below the old floor changes the plan.
Flooring installation does interrupt the routine for a short time. A clear scope, an open work area, and realistic expectations for what may be found beneath the old floor make it easier to manage.